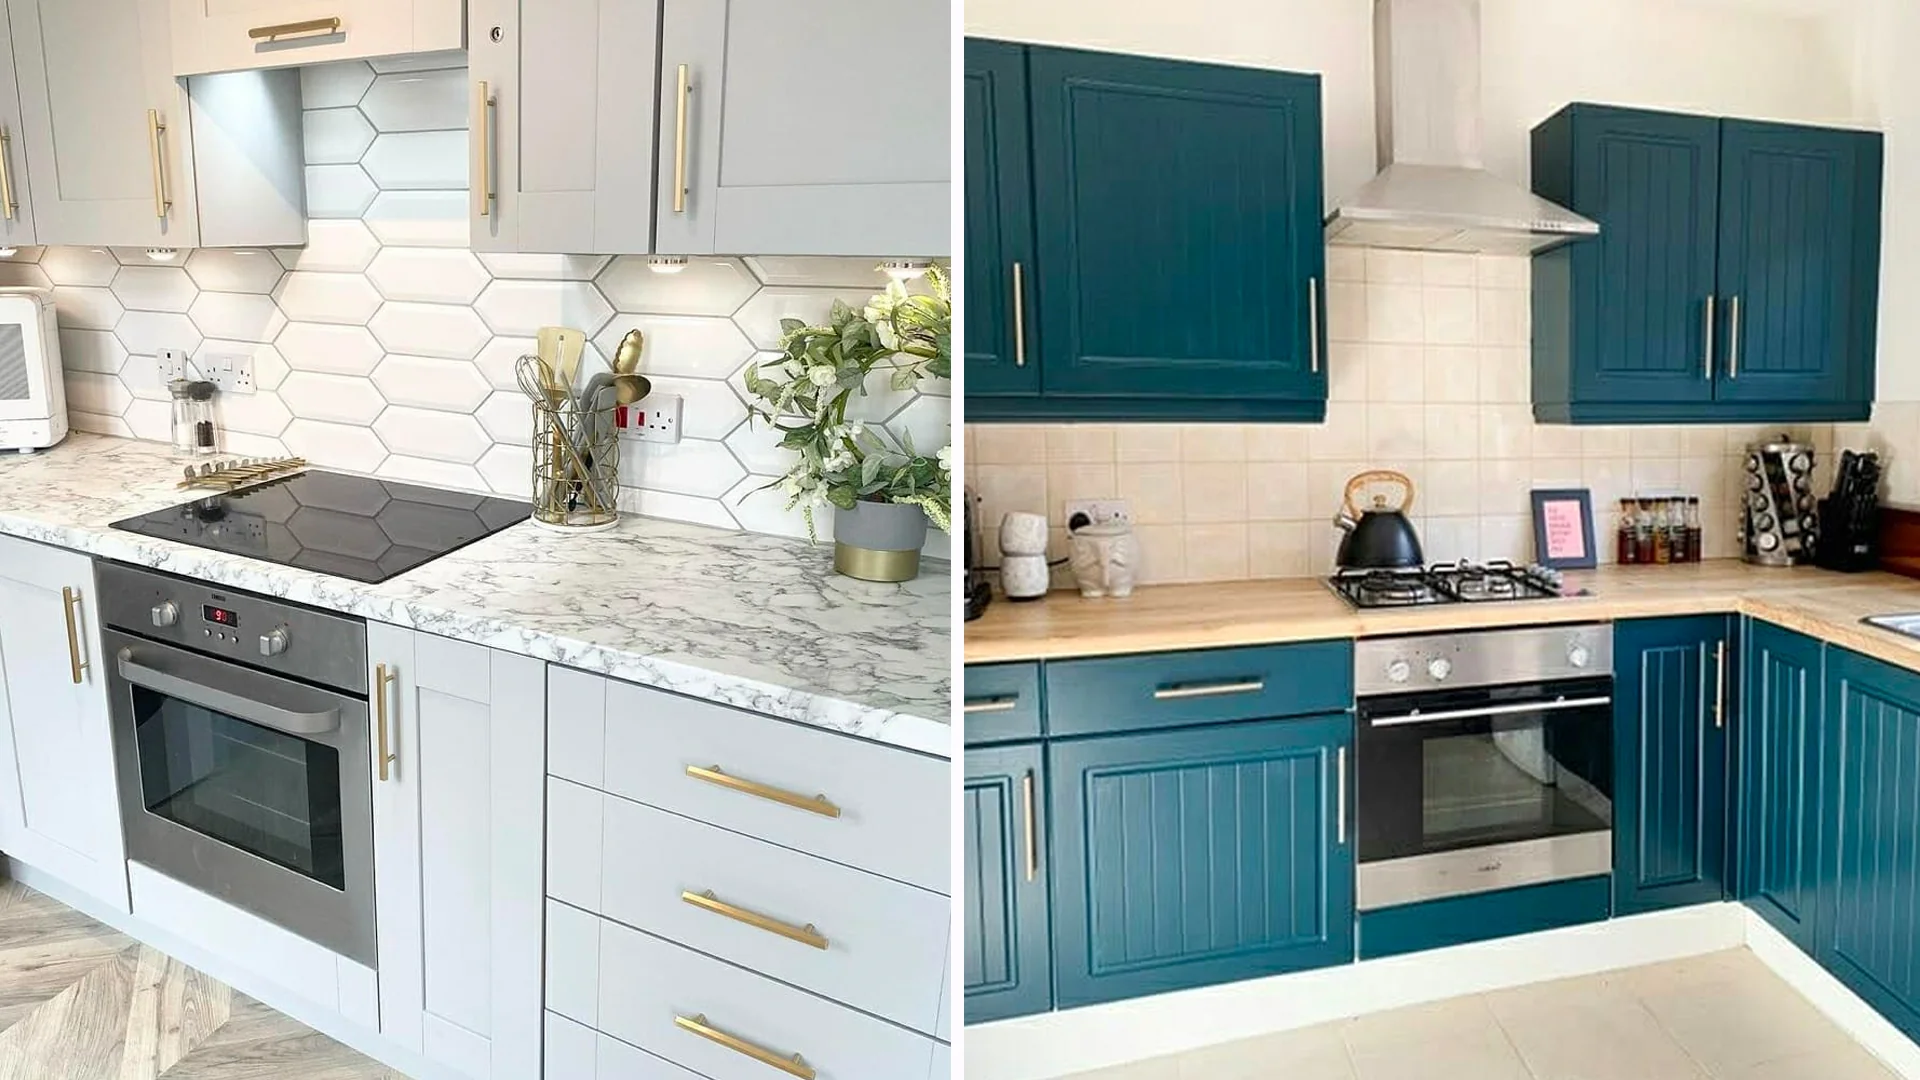
Cabinets must first be stripped to be painted again; this may or may not always be feasible or desirable.
Before beginning painting your cabinets, start by thoroughly degreasing with Krud Kutter degreaser and washing with sugar soap – this will provide your surface with better adhesion for new coats of paint.
Preparation
No matter if you are painting one cupboard, one dresser, or your entire kitchen – good preparation will ensure a professional result that lasts over time.
Start by completely emptying and cleaning out your cabinets. Reposition or remove any hardware pieces such as handles and hinges before placing them in labeled bags for later.
Next, use sandpaper to smooth the surfaces of your cabinetry in order to prepare it for painting. Be careful not to over-sand – too much can lead to chipping or peeling so opt for something like 120 grit sandpaper instead. After this, vacuum or wipe down all surfaces thoroughly so as to eliminate dust or other debris that could interfere with an ideal paint job.
Now is the time to use your selected primer, according to its instructions on your primer tin for times and drying times. Once dry, lightly sand the surface with fine paper until a fully smooth surface can accept your chosen Lick colour topcoat.
Primer
Oil-based primer is recommended as it’s very durable and works particularly well when coating kitchen cupboards with enamel paint, while water-based or shellac primers may work with acrylic and latex paints, although their performance won’t match that of oil primer.
After your primer has set, a second coat can be applied. Between each application it’s essential to use 180-grit sanding sponges and capture dust using either a vacuum or damp microfiber rag, to sand between coats for an unrivalled finish. Although this additional step takes up time and delays the project considerably it is essential for producing flawless finishes.
Label each door and drawer so you’ll remember where everything should go when reassembling the cabinets once painting is complete – this will save time by eliminating having to disassemble, then reassemble a few days later; or searching through piles of painter’s tape and boxes in your garage!
Paint
Kitchen cabinet paint offers an easy and cost-effective way to give your kitchen an update without incurring the expense of a full remodel. Plus, with hundreds of colors to choose from, it allows you to design truly bespoke cabinetry.
As with any painting project, the first step should be ensuring your surface is thoroughly cleaned before proceeding to sand and sand again for proper adhesion of paint. We suggest using 120-grit sandpaper for this step for optimal adhesion.
Before painting your cupboards, apply a coat of kitchen cupboard paint primer. This will ensure your topcoat adheres well, as well as providing a strong base for repairs or touch-ups in the future. Some kitchen cabinet paint tins come equipped with all-in-one primer/sealant, so if using one be sure to read and follow its instructions exactly.
Finish
Painting kitchen cupboards is an affordable and time-saving alternative to renovating. By using specialist cabinet paint, you can give your cabinet doors a durable yet wipeable new finish that lasts.
Start by giving the surface you intend to paint a thorough cleaning with sugar soap solution and nonabrasive cloth to remove grease and grime, especially on wood finishes that will prolong its paint’s life. This step should especially be undertaken before any painted wood finishes.
Once your kitchen cabinets have been thoroughly cleaned, it’s time to apply paint. Begin in small sections and apply thin coats, taking care not to leave visible brush strokes behind.
Once your doors have dried, wax them for an added protective sheen. Although optional, wax will help make cleaning easier and be less susceptible to grease and cooking fumes. Allow the wax to set overnight before buffing it with a lint-free cloth.


